
CVT Rebuild Checklist: What a Proper Rebuild Should Include
Use this CVT rebuild checklist to understand what a proper rebuild should include, what corners to avoid, and how to protect your transmission with the right parts, cleaning, and setup.

March 09, 2026
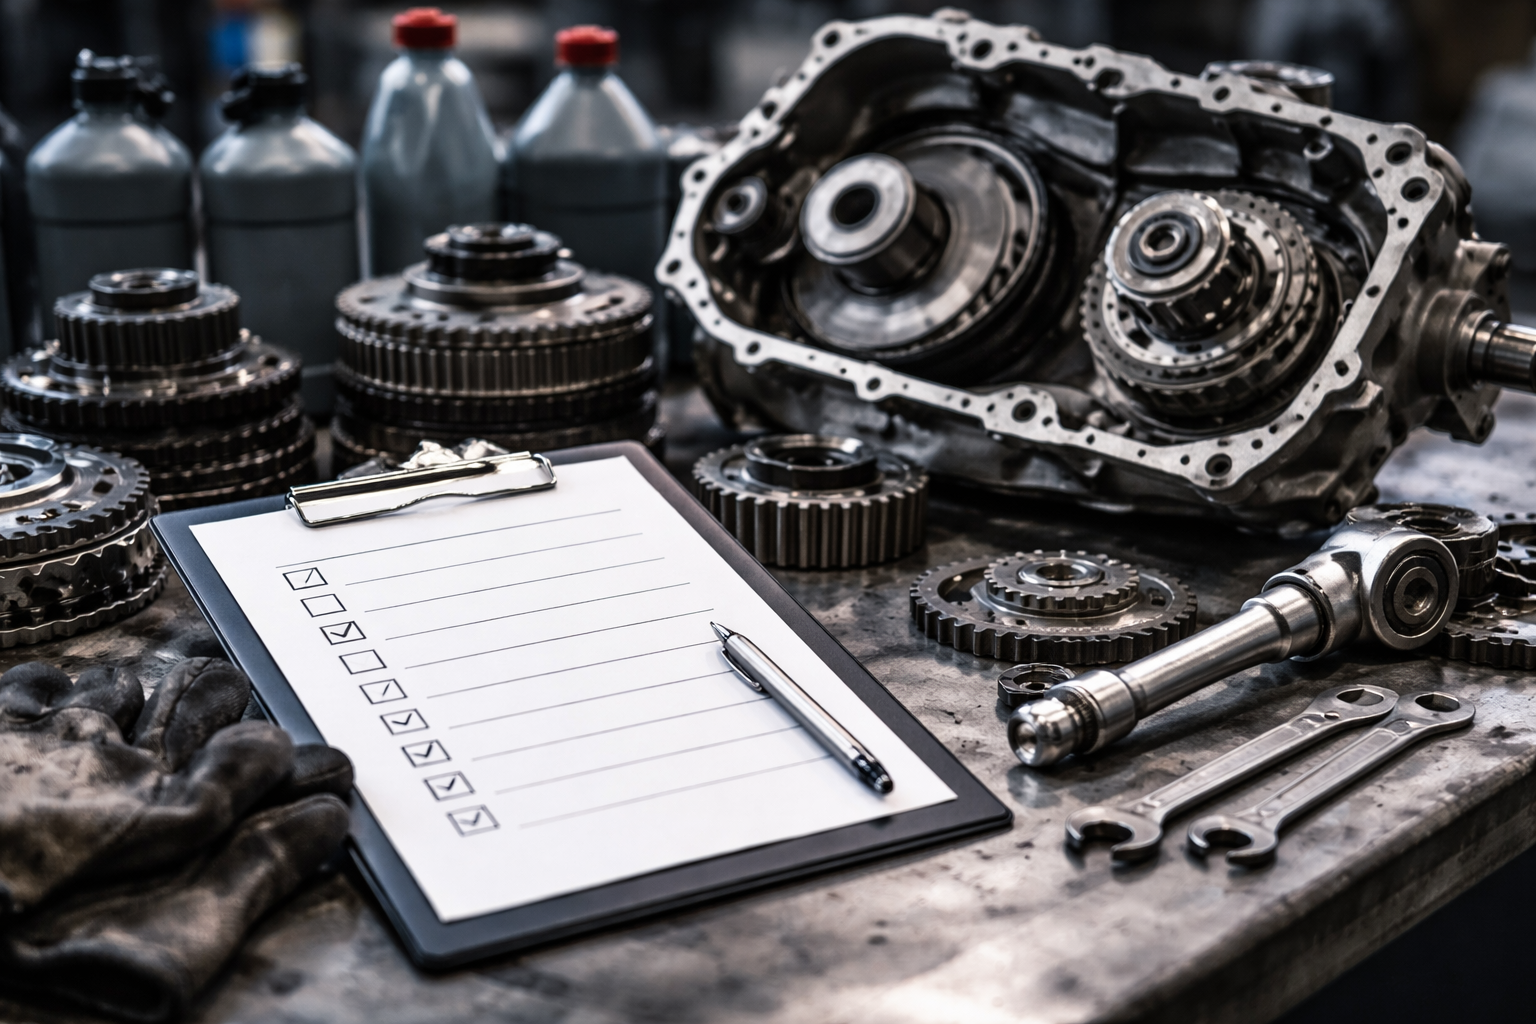
Table of contents
CVT Rebuild Checklist: What a Proper Rebuild Should Include
A CVT rebuild can be a great outcome, but only if it’s done properly. The tricky part is that “rebuilt” can mean very different things depending on who did the work, what failed, and how much cleaning and measuring was actually done.
This checklist is written to help you understand what a thorough CVT rebuild should include, so you can ask better questions, spot shortcuts, and avoid repeat failures caused by contamination or missed wear items.
If you’re not sure whether you need a rebuild or something more targeted (like bearings, a valve body repair, or an early component fix), CVT NZ offers diagnostic support and written reports so you can make decisions based on evidence, not guesses.
1) Start with a proper diagnosis (before anyone removes the gearbox)
A rebuild should never begin with “it feels like the trans”. A good shop will first confirm the fault pattern, because many CVT symptoms can be caused by factors outside the transmission or by control and pressure issues that do not always require a full overhaul.
A proper pre-check typically includes:
- Full electronic scan for codes and data (not just a basic OBD scan)
- Symptom-based testing: cold vs hot behaviour, road speed vs engine speed, engagement delay, surge, judder
- Fluid condition check and contamination check (burnt smell, metallic flakes, fine glitter, fragments)
- A plan for root cause, not just replacing parts
Why it matters: once metal contamination spreads, it can damage the pump, valve body, pulleys, and belt or chain surfaces, which is why “early diagnosis” can be the difference between a controlled repair and a cascading failure.
2) Tear-down must include contamination control (this is where rebuilds are won or lost)
The most common reason rebuilds fail early is leftover debris. A proper rebuild is not just “new parts”, it’s also a cleaning and inspection process.
A thorough rebuild should include:
- Full strip down to access internal components (not partial disassembly only)
- Cleaning of mating surfaces and internal bores as specified in overhaul procedures
- Removal and replacement of non-reusable seals, O-rings, and gaskets during disassembly and reassembly steps
- Magnet and pan inspection, with documentation of what was found (this tells you what failed first)
If your old fluid had visible metal, a rebuild should also address every place metal can hide, including coolers, lines, and valve-body passages.
3) Hard-part inspection, measure everything that matters
A proper rebuild is part mechanic, part quality control. CVTs are sensitive to pressures, clearances, belt or chain clamping force, and bearing condition.
Expect checks such as:
- Bearing inspection (noise, roughness, bluing, heat marks) and replacement where needed
- Pulley surface and pulley bearing inspection (wear patterns, scoring, heat marks)
- End play measurements and selective spacer checks where applicable (many OEM procedures require this)
- Inspection of pump components, sprockets, and chains where fitted
If a shop cannot explain what they measured and what they replaced based on their findings, that’s a red flag.
4) Replace the right wear items (not just the obviously broken one)
Different CVTs fail in different ways, but a “proper rebuild” usually means addressing the components that are most commonly damaged by heat, slip, or debris.
Common rebuild inclusions (varies by unit and failure)
- New filters and filter seals or grommets (often specified as non-reusable)
- New O-rings and sealing rings on sensors and covers during reassembly
- Belt or chain inspection, and replacement if there is slip, pulley face damage, or contamination risk (unit dependent)
- Bearings and any noisy or heat-marked rotating elements
- Oil pump replacement or reconditioning, where procedures specify it is not to be reused (some OEM processes do)
If the failure included pulley wear symptoms (whine, judder, surge, RPM flare, metal in fluid), the rebuild scope often needs to be wider than a simple “service kit”.
5) Valve body and pressure control must be handled properly
The valve body is a big deal on CVTs. Pressure control issues can cause judder, flare, ratio errors, overheating, and repeat wear. A rebuild should not ignore it.
A proper approach may include:
- Full valve body inspection and cleaning, with correct separator plate or internal parts replacement where required by the procedure
- Solenoid and bore wear considerations (depending on model and symptoms)
- Awareness that restrictions or incorrect filters can cause pressure issues, even when they look “new”
If your symptoms were pressure-related, ask specifically what was done to the valve body and why.
6) Torque converter, oil cooler, and lines, don’t skip the hidden contamination
Even a perfect internal rebuild can fail if the cooler and lines feed debris straight back into the “new” transmission.
A proper rebuild job should consider:
- Torque converter handling according to the service procedure (drain, inspect, and ensure correct installation depth where specified)
- Cooler flushing in both directions, and replacing clamps or hoses as required in procedures (example: OEM guidance exists for CVT cooler cleaning)
- Checking for rubber debris, damaged hoses, and restrictions
If you had metal flakes or fragments in the oil, you want to hear the words “cooler flush” (or cooler replacement, depending on severity), not “we’ll just put fresh fluid in it”.
7) Correct fluid, correct fill method, and correct set-up
CVTs are not forgiving when it comes to fluid type and service method. Using the wrong fluid can create slippage and heat quickly, and topping up with standard ATF is a known cause of failure.
What “proper” looks like:
- Correct specification CVT fluid, not generic ATF
- New filters where applicable and proper service procedures, not shortcuts
- Connectors and sensors cleaned and refitted carefully, with codes documented before removal (common install guidance emphasises this)
- Adaptation and relearn steps carried out where required (varies by vehicle)
8) Post-rebuild validation: testing, evidence, and warranty clarity
A proper rebuild should finish with proof that it’s healthy, not just “it drives”.
A strong close-out includes:
- Road test covering cold and hot operation, plus load changes
- Re-check for leaks, line pressure behaviour (where measured), and scan data
- Clear explanation of what failed, what was replaced, and what was reused
- Warranty terms explained in writing (including what voids it, like wrong fluid or skipped cooler flush)
CVT NZ lists clear warranty options across supply, services, and parts, so you can compare what you’re being offered elsewhere.
Quick questions to ask any shop before you approve a rebuild
Use these to cut through vague answers:
- What did you find in the pan and magnets, and what does that indicate?
- What parts are you replacing because they are worn, and what parts because they are non-reusable?
- What was done to the valve body, and why?
- How are you preventing contamination from returning via the cooler and lines?
- Are you using the correct CVT fluid spec for this exact transmission?
- What measurements did you take (end play, clearances, wear limits), and what were the results?
If the answers are fuzzy, or the plan is “replace the obvious broken bit and send it”, you’re taking a risk.
When a rebuild is more likely than a smaller repair
A rebuild (or replacement) becomes more likely when there are signs the damage has spread, like:
- Loud grinding or rapidly worsening noise
- Metal flakes or fragments in the oil
- Burnt fluid and heavy contamination
- Persistent overheating
- Ratio errors, surging, slipping, or fault codes alongside noise
If symptoms are mild and caught early, sometimes a targeted repair is realistic, especially if contamination is limited.
Need help confirming what your CVT actually needs?
If you want a second opinion before approving a big bill, CVT NZ can help with diagnostics support and written reports, plus repairs, servicing, and supply options across New Zealand.
- By
- CVT Team
Share this post